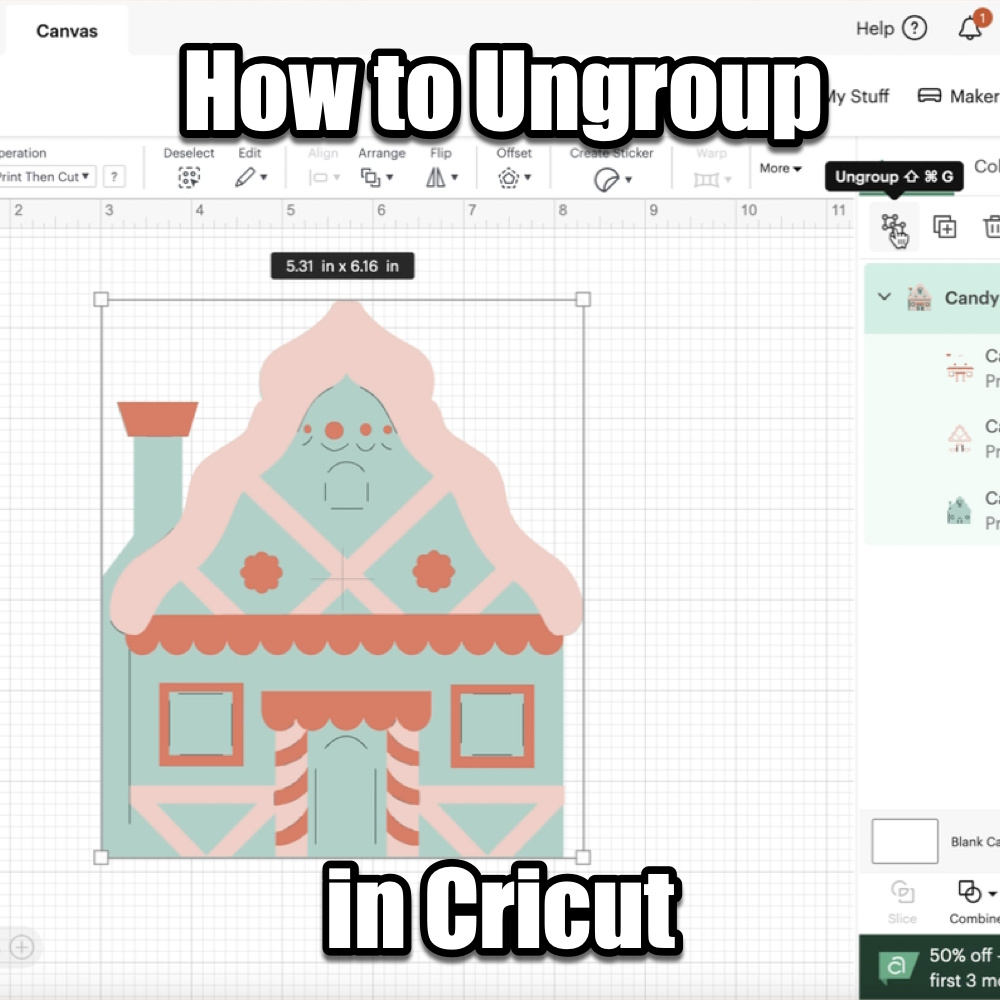
Grouping locks multiple elements together so you can move, resize, or edit them as one unit. Ungrouping separates the pieces so you can work on them individually.
Both are super simple to do and will make your editing process smooth and frustration-free. Let’s start with ungrouping!
How to Ungroup in Cricut Design Space
- Select the Grouped Design
- Click on the image, text, or layered design that’s grouped together.
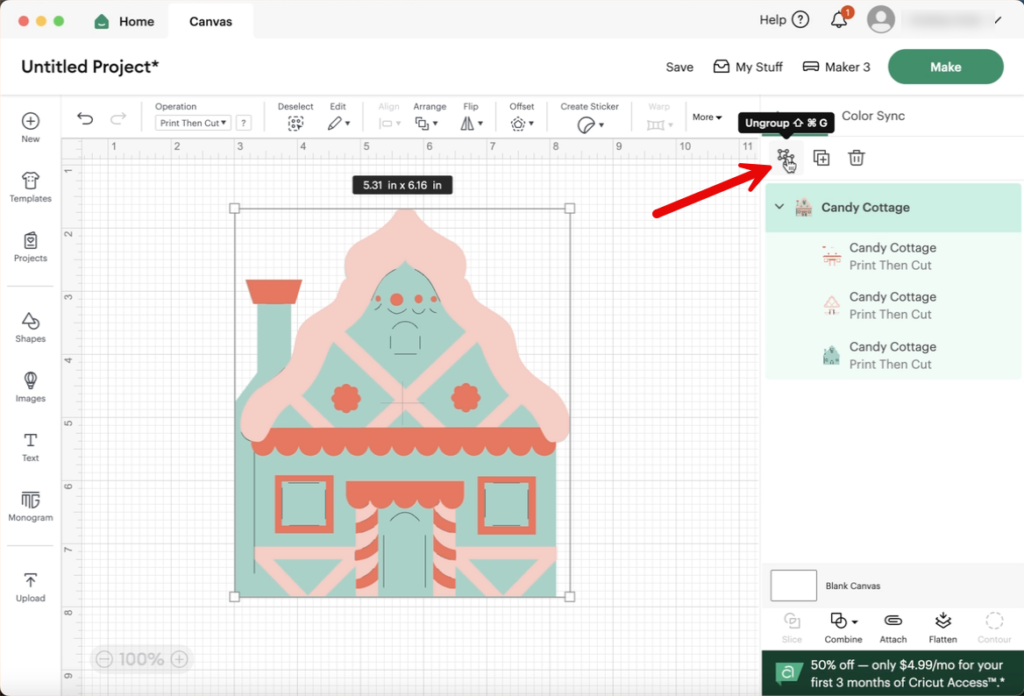
- Click “Ungroup”
- Look to the Layers Panel on the right-hand side.
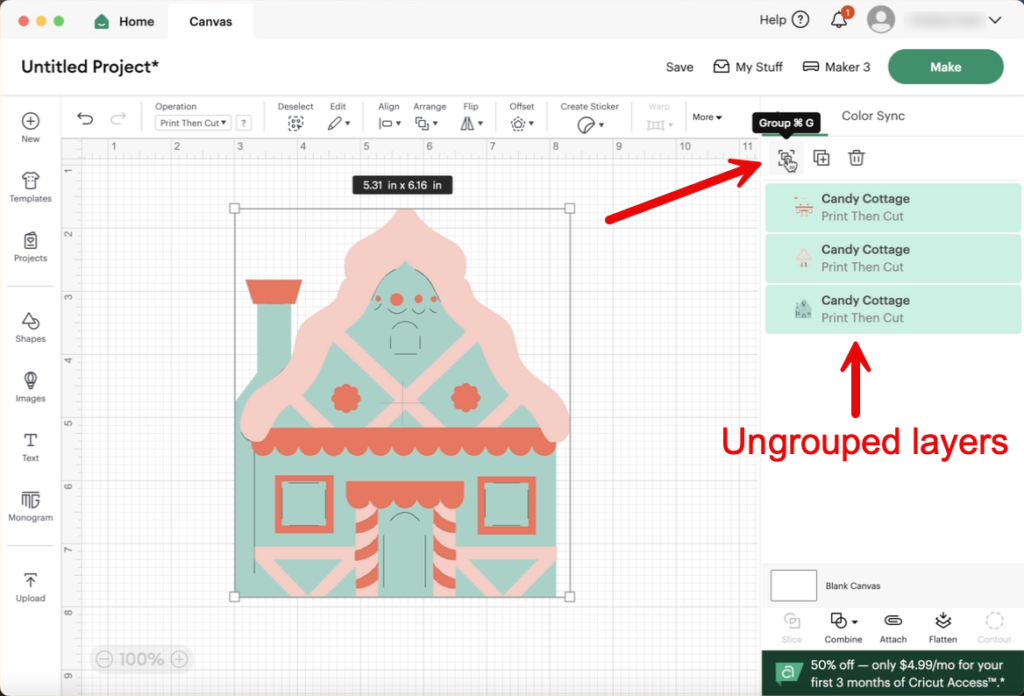
- Click the Ungroup button at the top. Your design will now separate into individual pieces.

3.Edit as Needed
-
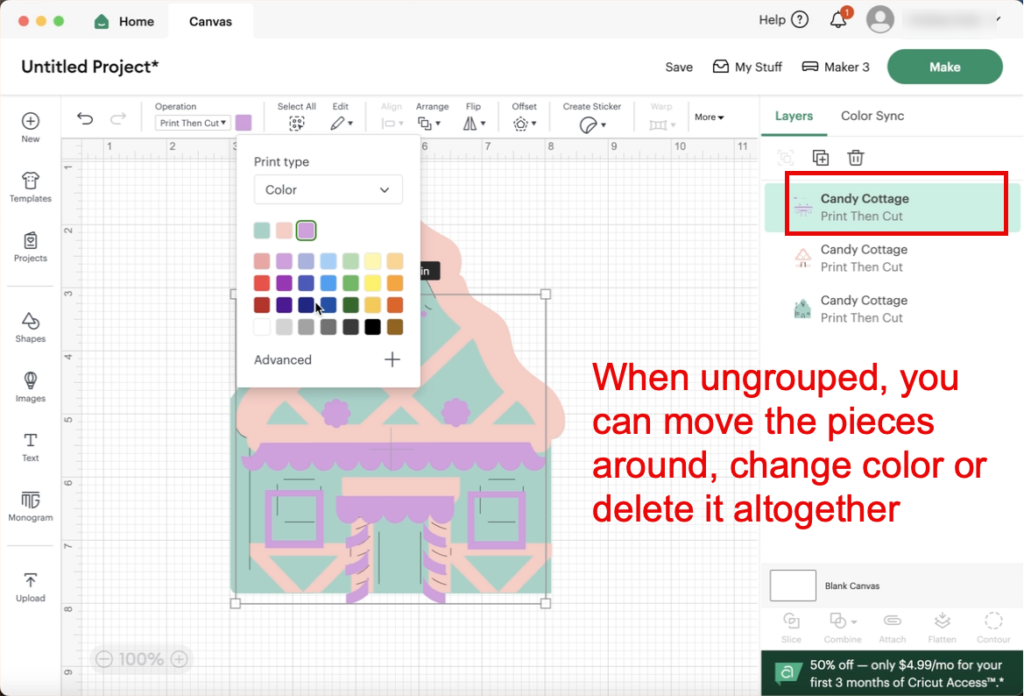
- Move, resize, or adjust each piece however you like. Want to group them again? No problem—just follow the grouping steps below!
How to Group in Cricut Design Space
- Select Your Items
- Click and drag over the pieces you want to group.
- Or, hold Shift and click each piece one by one.
- Click “Group”
- Go to the top of the Layers Panel and click Group.
- Now, everything will move and resize together perfectly.

3.Ungroup Later?
-
- Anytime you want to tweak something individually, just click Ungroup again.
Benefits of Grouping and Ungrouping
- Editing Images: Need to adjust just one part of a design? Ungroup and edit with ease.
- Perfect Alignment: Group to keep everything together and in place—no more wonky layouts!
- Saving Time: Stop fixing your pieces every time you move or resize. Group, ungroup, and stay stress-free.

Once you get the hang of grouping and ungrouping, editing images in Cricut Design Space becomes so much easier. It’s the little tricks like these that keep your crafting fun and frustration-free.
Now go on—group it, ungroup it, and create something amazing! Want to learn more about cutting machines? Check out our free guide here.

