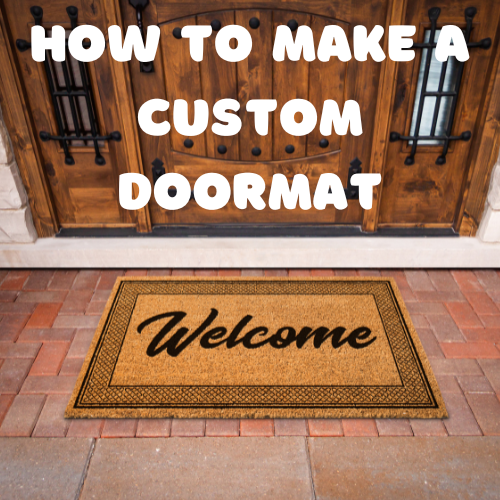
If you’re looking for a fun, practical Cricut project that makes a statement, let’s talk custom door mats! Whether you want a cute “Welcome” design, a funny quote, or something seasonal, creating a stencil with vinyl and painting your own door mat is easier than you’d think.
Grab your Cricut, some vinyl, and a little creativity—let’s get started!
Supplies You’ll Need
Here’s what you need to create your custom door mat:
- Cricut Machine (Explore, Maker, or Joy depending on the size)
- Standard Grip Cutting Mat
- Adhesive Vinyl (the cheaper kind works best—this is just for a stencil!)
- Weeding Tool
- Transfer Tape
- Blank Coir Door Mat (coir mats are perfect for painting)
- Outdoor Acrylic Paint or Fabric Paint
- Foam Brush or Stencil Brush
- Painter’s Tape
- Gloves (optional but keeps your hands clean)
Got everything? Let’s make some magic.
Step 1: Design Your Stencil in Cricut Design Space
- Measure your mat and the space you want to customize.
- Open Cricut Design Space and create your design. Keep it simple and bold—thin lines can bleed when you paint.
- Adjust the size to fit your mat. A standard door mat is about 18×30 inches, but measure yours to be sure.
- Once your design is ready, click Make It and set your material to vinyl.
Step 2: Cut and Weed Your Stencil
- Place your adhesive vinyl (shiny side up) onto your Standard Grip Mat and load it into your Cricut.
- Let your Cricut cut the design
- Once it’s cut, weed out the parts of the vinyl where you want the paint to go. Essentially, you’re removing the letters or shapes to create a stencil.
Step 3: Apply the Vinyl Stencil to the Mat
- Use transfer tape to carefully lift your vinyl stencil from the backing.
- Line it up and place the stencil onto your coir mat. Coir mats are textured, so press the vinyl down firmly (painter’s tape can help secure the edges).
- Don’t worry if it’s not perfectly smooth—just make sure the edges of your design are sealed to avoid paint leaks.
Step 4: Paint Your Design
- Put on gloves if you’re feeling fancy, and grab your paint and foam brush.
- Dab the paint straight down onto the stencil—don’t brush side-to-side, or it’ll bleed under the vinyl. Take your time and add a second coat if needed.
- Once you’re done, let the paint dry for about 20-30 minutes.
Step 5: Remove the Stencil and Admire Your Work
Carefully peel off the vinyl stencil. If some paint got through (hey, it happens!), use a small brush to touch it up.
Stand back and admire your DIY masterpiece! Your mat is ready to greet guests, make them laugh, or show off your style.
Tips for Success
- Use bold fonts and simple designs: The cleaner the stencil, the cleaner the paint lines.
- Seal the mat: For extra durability, spray a clear sealant over your painted design.
- Don’t stress imperfections: Handmade means it’s unique—little flaws add character!
Now you’ve got the skills to create custom door mats that’ll wow your friends or even sell in your DIY business. Grab that Cricut and get crafting—your front door’s waiting for a makeover!
For our full guide to smart cutting machines, download our free guide here.