If you’ve ever tried to create a Cricut project and needed to slice an image or text, you’re not alone. Slicing can seem tricky at first, but with this quick guide, you’ll be slicing like a pro in no time!
What Is Slicing in Cricut?
Slicing in the Cricut app allows you to cut one image or text layer out of another. Think of it like a cookie cutter—it’s the tool you need to create custom designs or shapes by removing unwanted parts.
Step-by-Step Guide to Slicing on the Cricut App
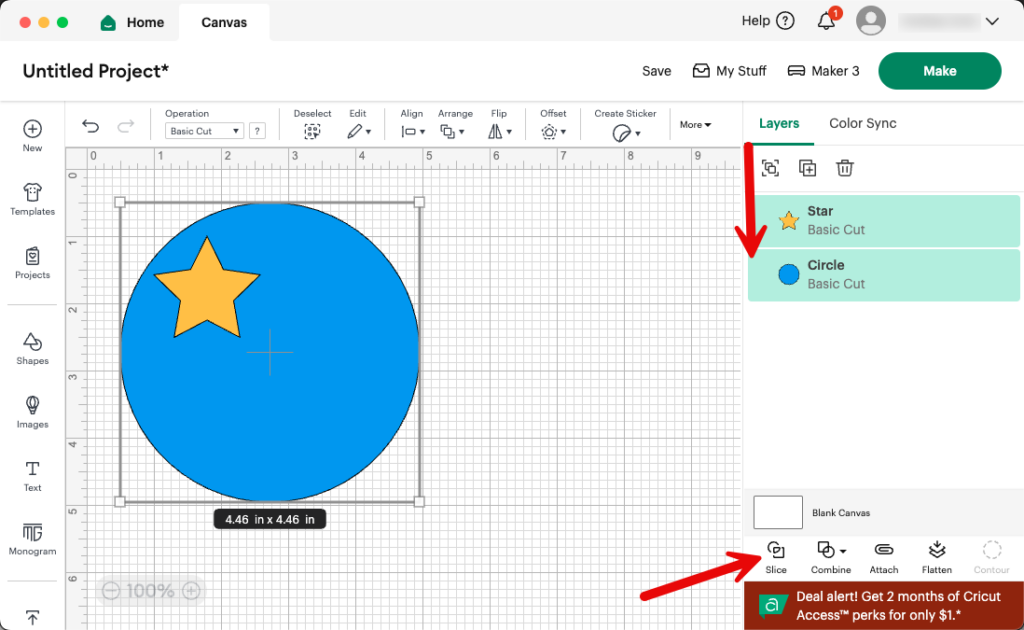
- Select the Layers You Want to Slice
- Make sure the two layers you want to slice are positioned the way you want them on your canvas.
- Highlight both layers by holding down Shift (or tapping them both if on a touchscreen).
- Check Layer Compatibility
- Slicing only works with two selected layers. If you have more than two selected, the Slice button will be greyed out. Deselect unnecessary layers.
- Use the Slice Tool
- Once you’ve selected the correct layers, navigate to the bottom of your screen (or the right-side panel, depending on your device).
- Tap Slice.
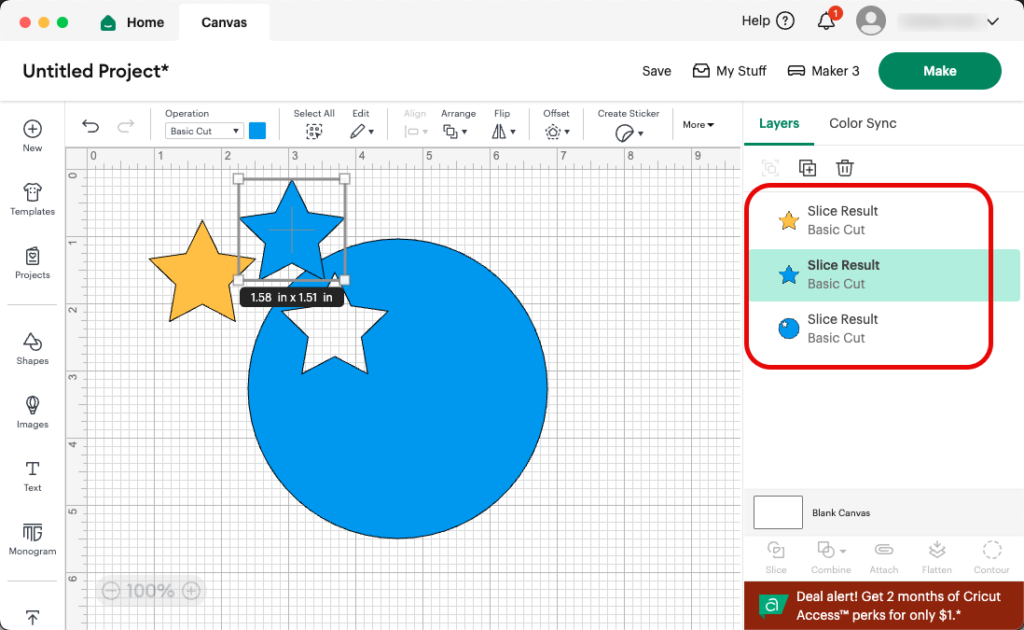
- Review and Separate Your Layers
- After slicing, your original layers will split into multiple parts.
- Drag the layers apart to see your newly sliced shapes.
- Delete the Extras
- If there are leftover shapes or layers you don’t need, simply select and delete them.
Tips for Slicing on Cricut
- Group Layers First: If working with grouped layers, ungroup them before slicing.
- Zoom In for Precision: Use the zoom tool to ensure your shapes align correctly before slicing.
- Practice Makes Perfect: Don’t worry if you don’t get it right the first time! Experiment with different shapes and layers to master slicing.
With these steps, you can easily slice your way to more creative Cricut projects. Whether you’re crafting custom decals, personalized gifts, or layered art, slicing is a game-changer!